Sprite AI for Aseprite
Generate, animate, restyle and fix pixel art with AI, right inside Aseprite.
From install to animation
The whole workflow takes about two minutes. You need Aseprite 1.2.10 or newer (1.3 recommended), curl, and a free Sprite AI account.
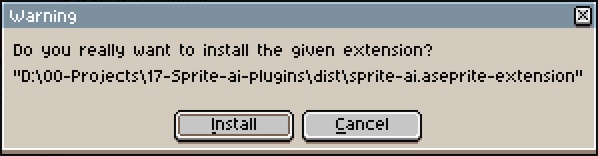
Double-click the file, or go to Edit > Preferences > Extensions > Add Extension, then click Install.
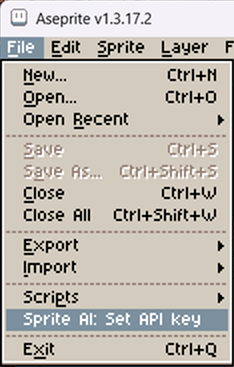
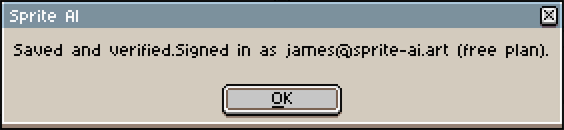
Create a key on your account, then paste it into File > Scripts > Sprite AI: Set API key. It checks the key on save and shows your plan and token balance, so you know it worked.
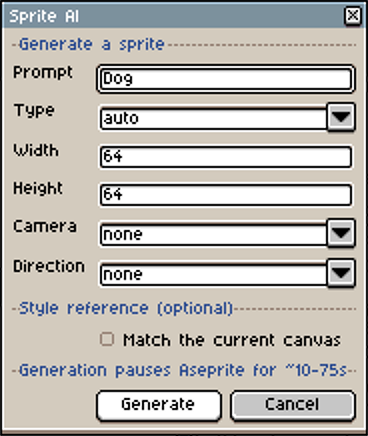
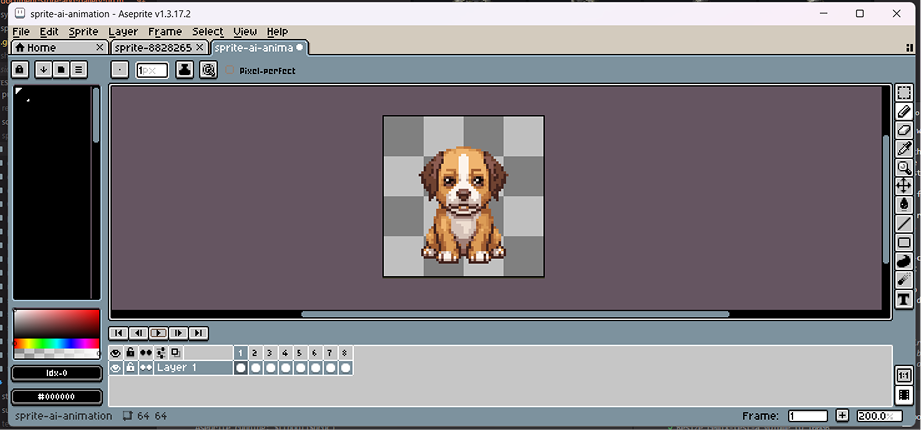
Open Sprite > Sprite AI > Generate, describe what you want, and pick a size. The finished sprite opens as a new document.
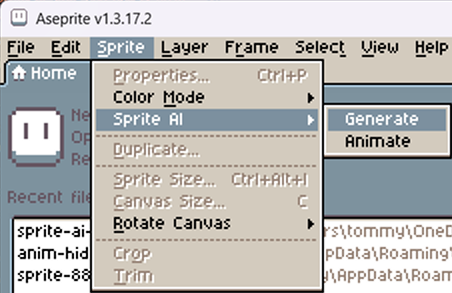
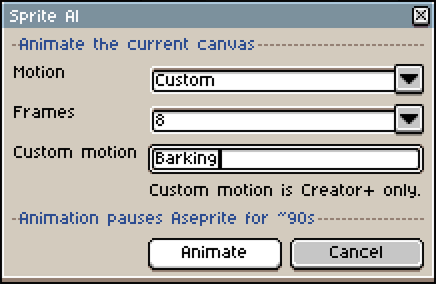
With the sprite open, run Sprite > Sprite AI > Animate. Pick a motion and a frame count from 4 to 16. It comes back as real, timed Aseprite frames under one tag named for the motion, so you can export by tag or keep several motions in one file.
Animate moves the pose in place. It can't turn the character around. That's what Rotate is for.
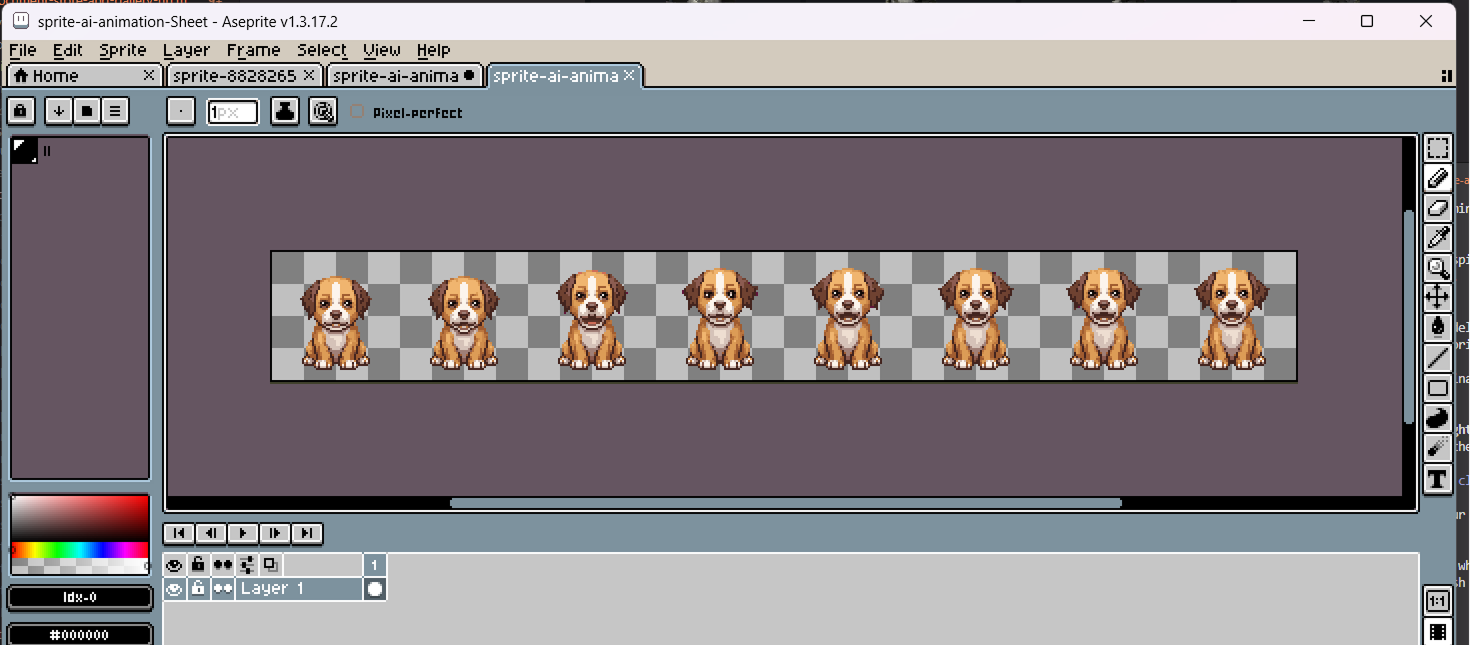
Your finished animation, looping and ready for your game.
Every command and what it costs
Everything lives under Sprite > Sprite AI and spends tokens from your Sprite AI account.
| Command | What it does | Cost |
|---|---|---|
Generate | Turn a prompt into a sprite at the size you pick. It opens as a new document. | 1 token |
Animate | Animate the sprite on your canvas with a motion preset (walk, run, idle, attack...), 4 to 16 frames under one tag. | 14-20 tokens |
Sprite Agent | Describe a whole pack, like a knight with a walk cycle and 8 directions. It plans every step and shows the price, and nothing runs until you click Run. | A couple of tokens to plan, then the plan's total |
Restyle | Change the look, the pose or an item of the sprite on your canvas, in your own words. Same character, same size. | 2 tokens (Normal), 9 tokens (Pro) |
Touch up | Fix only the part you select, like the eyes or a hand. Every pixel outside the selection stays as it was. | 1 token |
Combine | Put a second open sprite into the one on your canvas, like a sword into a hand. Both palettes are kept. | 3 tokens (Normal), 9 tokens (Pro) |
Rotate | Turn the sprite on your canvas into an 8-direction set, or the 4 cardinals, one frame per facing. | 12 tokens |
Normal map | Build a normal map for dynamic lighting, OpenGL or DirectX, frame by frame. | 1 token per frame |
Remove background | Key a flat single-color background off the canvas, frame timing kept. | Free (Standard), 1 token per frame (Refined) |
The other commands, in detail
Generate and Animate are covered above. Everything else starts from the sprite on your canvas, and Sprite Agent can also start from nothing. Most commands open their result as a new document or a new layer, your pick under Result.
Restyle
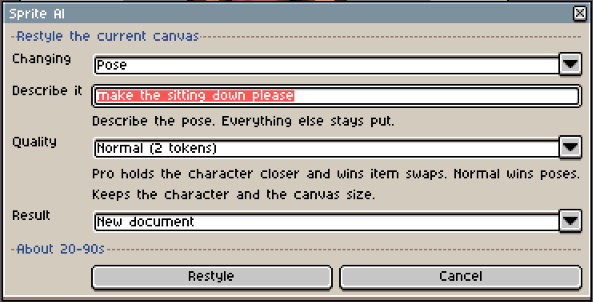
Restyle changes the sprite on your canvas the way you describe it and keeps the character. Pick what you're changing first. Style repaints the look, Pose moves the body, Item swap trades one thing for another, and Custom covers the rest. Normal costs 2 tokens and wins poses. Pro costs 9 tokens, holds the character closer and wins item swaps. The result keeps the canvas size, so it drops straight in as a layer.
Touch up
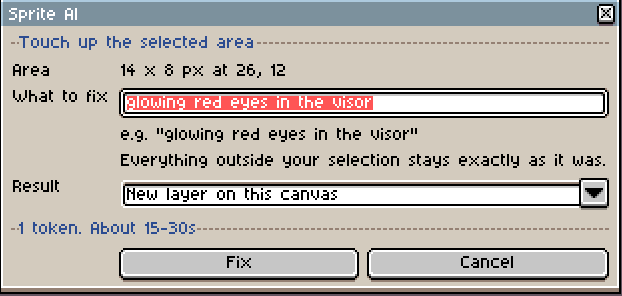
Touch up fixes one part of a sprite and leaves everything else alone. Select the area with any selection tool (Rectangular Marquee, Lasso, Magic Wand), run Touch up and say what to fix. It costs 1 token at any sprite size. As a new layer, the result holds only the fixed pixels, so hiding the layer shows the original. Keep the selection small, about 200px per side at most.
Combine
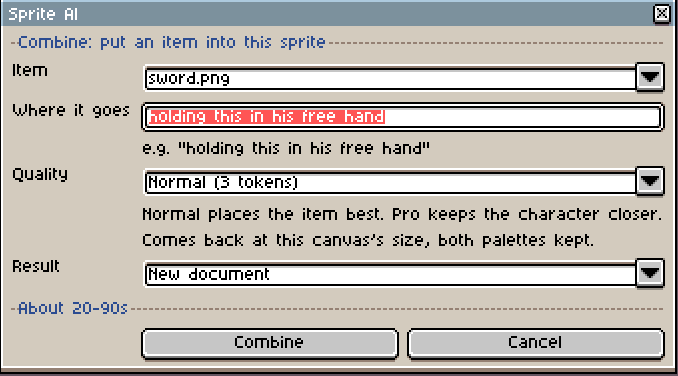
Combine puts one sprite into another. Open the item as its own document, like a sword, then go back to your character and run Combine. Pick the item, say where it goes and pick the quality. Normal (3 tokens) places the item best. Pro (9 tokens) keeps the character closer. The result comes back at your canvas size with both palettes kept.
Sprite Agent
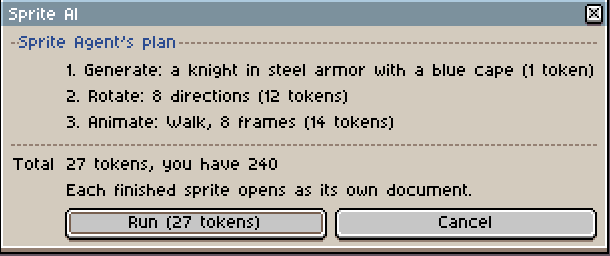
Sprite Agent builds a whole set from one sentence. Say what you need, like a knight with a walk cycle and all 8 directions, and tick Start from the sprite on my canvas if you already have the character. It plans the steps first and shows each one with its price and your balance. Nothing runs until you click Run. Every finished sprite then opens as its own document, with animations and rotations already sliced into tagged frames. Planning costs a couple of tokens at most, like the chat on the site.
Rotate
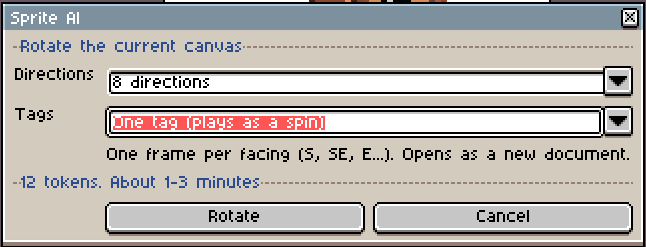
Rotate turns your sprite into all 8 directions, or just the 4 cardinals, one frame per facing in spin order. By default the set sits under one tag named S SE E NE N NW W SW, so pressing Play spins the character and frame 3 is always E. Exporting by tag? Pick one tag per facing under Tags. The source needs 32 to 256px per side.
Normal map
Normal map reads the 3D form of your sprite and builds a map for dynamic lighting. Pick OpenGL for Godot and Unity, or DirectX for Unreal. Extra detail at 0 stays truest to the form. A multi-frame sprite is processed frame by frame, and the layer option needs an RGB sprite.
Remove background
Remove background keys a flat single-color background off your canvas and keeps the frame timing. Standard is free. Refined mattes against the sprite's own palette for cleaner edges. The background color comes from the corners unless you pick one.
Troubleshooting the Aseprite extension
Most problems come down to curl, the API key, or the canvas size.
| What you see | What to do |
|---|---|
Could not reach the API | Check that curl --version works in a terminal. |
Key rejected (401) | Re-paste the full sai_sk_ key. |
Can't send the canvas | The source must be 256px per side or smaller. |
A command refuses a small canvas | Restyle, Touch up, Combine, Rotate and Normal map need at least 32px per side. Scale up first with Sprite > Sprite Size. |
Touch up asks for a selection | Select the part to fix first. Any selection tool works. |
Combine asks for a second sprite | Open the item as its own document, then run Combine from your character. |
Corners are already transparent | There's no flat background to remove. Sprites generated here come back transparent already. |
Questions, answered
No. It spends from the same token balance as the web app. The extension itself is free, and the free tier works.
Aseprite 1.2.10 and up (1.3 recommended). LibreSprite is experimental, since its scripting has drifted from Aseprite.
Just curl, which ships with Windows 10+, macOS, and most Linux. No companion server, no Python, nothing to run in the background.
It stays in your local Aseprite settings, never in a file you share. You can revoke it any time from your account.
The extension checks for a newer build about once a day while you use it and offers to install it in place. Accept, restart Aseprite, done. Your API key is kept. File > Scripts > Sprite AI: Check for updates does it on demand.
Still have questions?
Ask in our Discord, it's the fastest way to get help, or send us a message.